QuickIssue Setup
Step 1: Create a GitHub Token
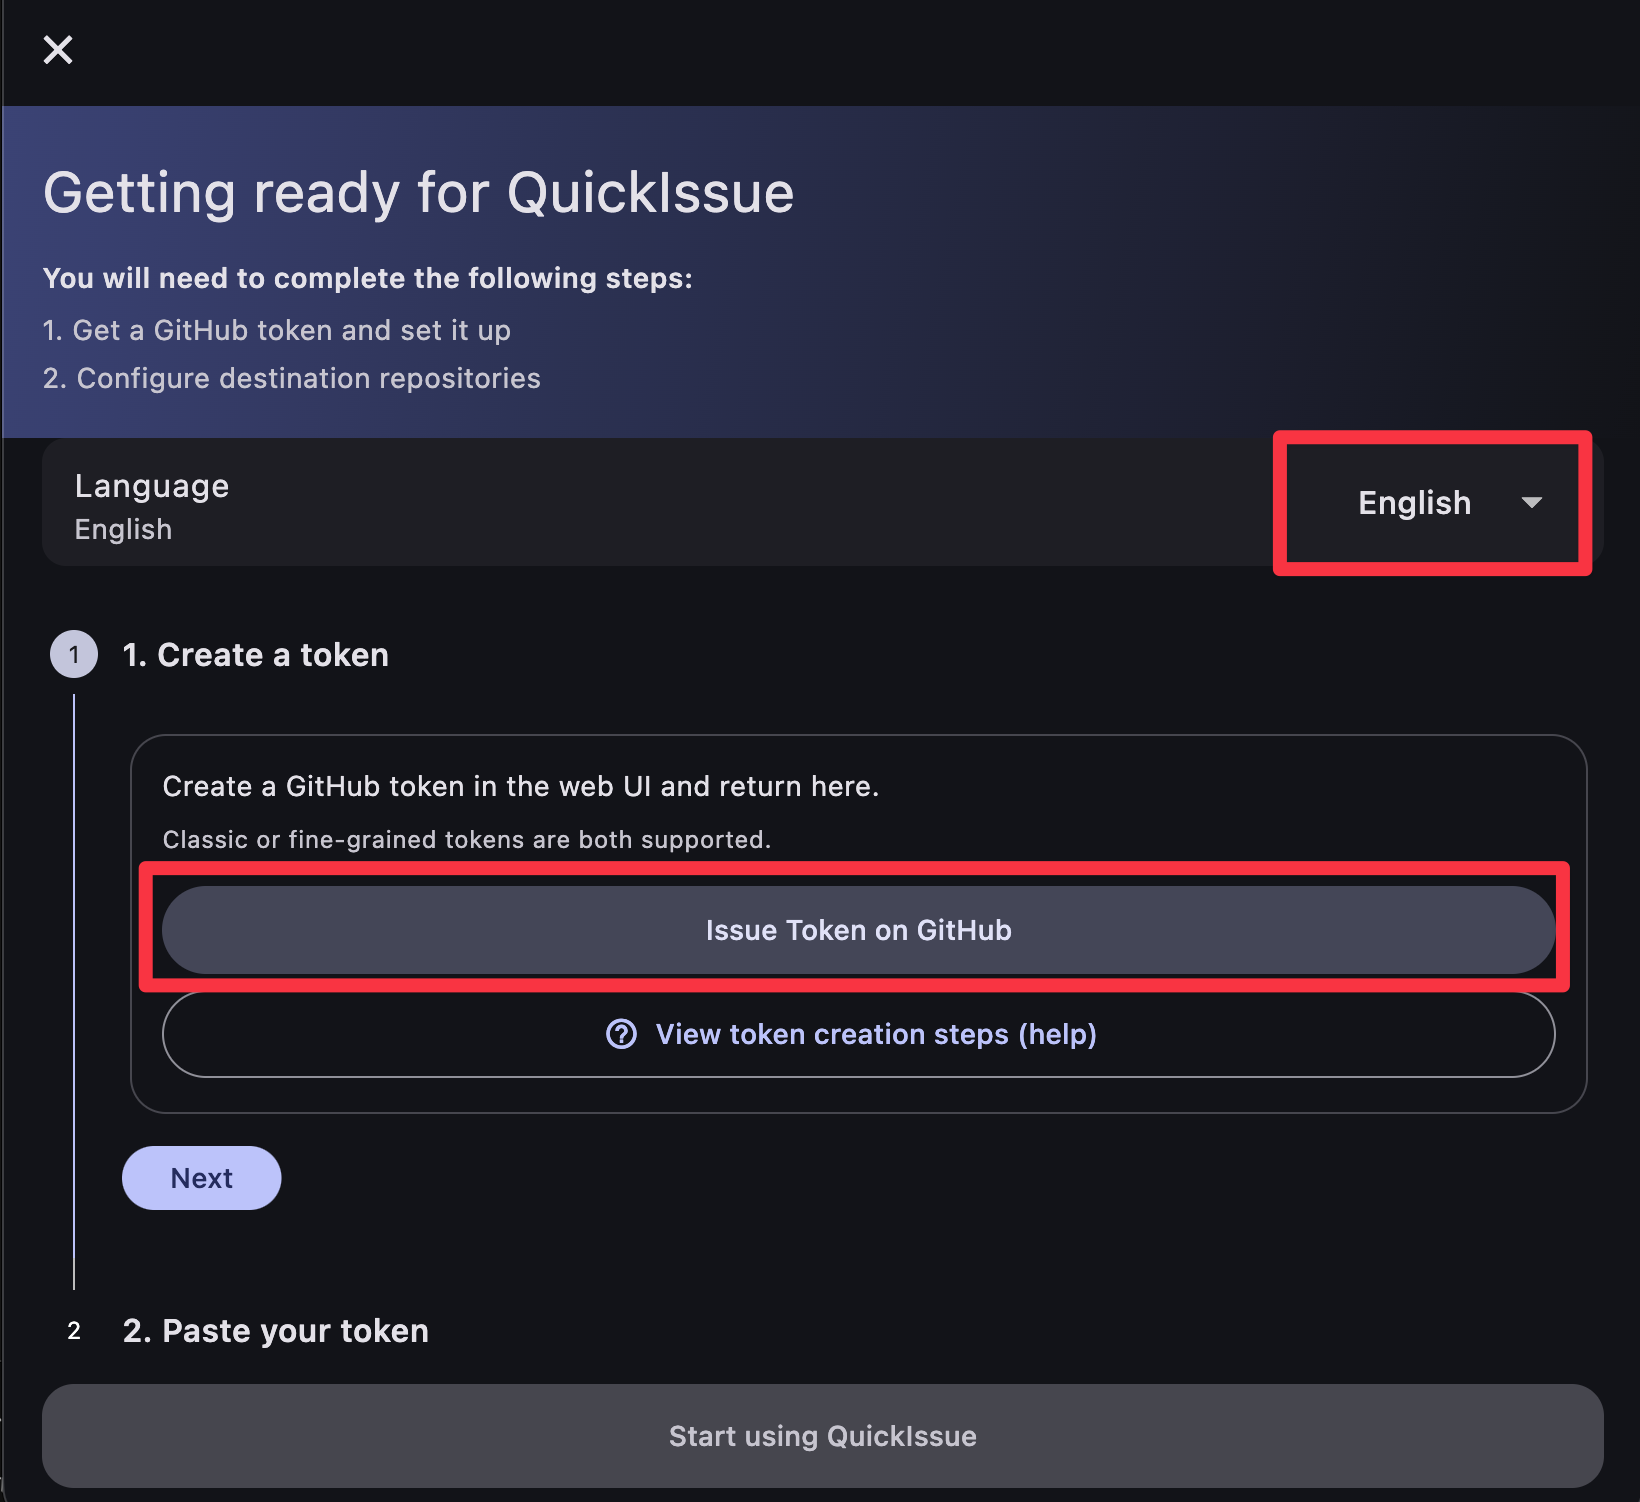
Click the "Start Initial Setup" button in QuickIssue, then click "Issue Token on GitHub" to open the GitHub token creation page.

GitHub Authentication
GitHub requires authentication before you can create a token. There are two methods available:
- Email verification - A code will be sent to your registered email
- GitHub Mobile app - Approve the request from your phone
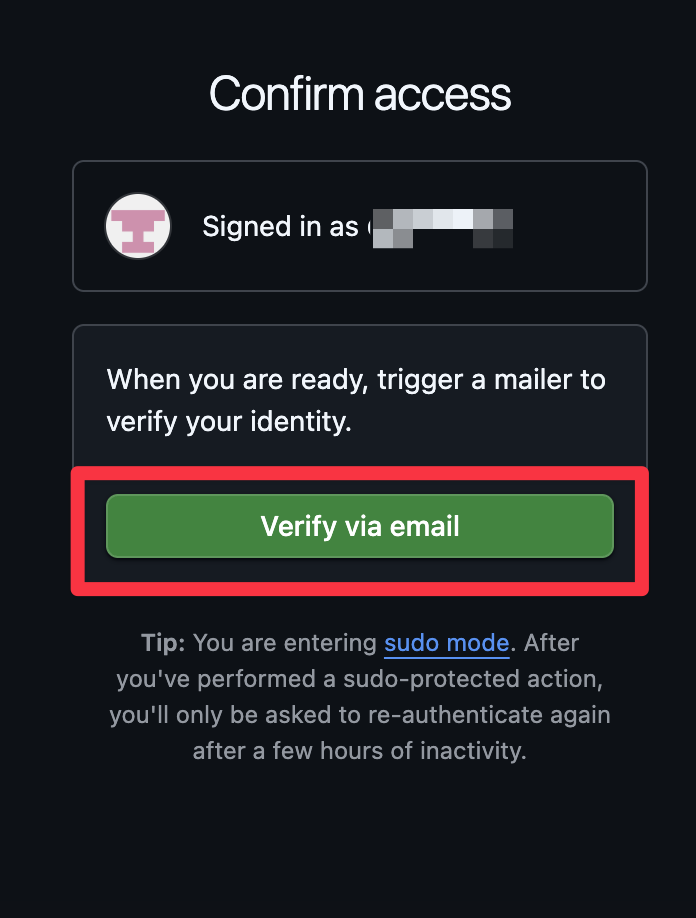
Option A: Email Verification
Click "Verify via email" and enter the code sent to your email.
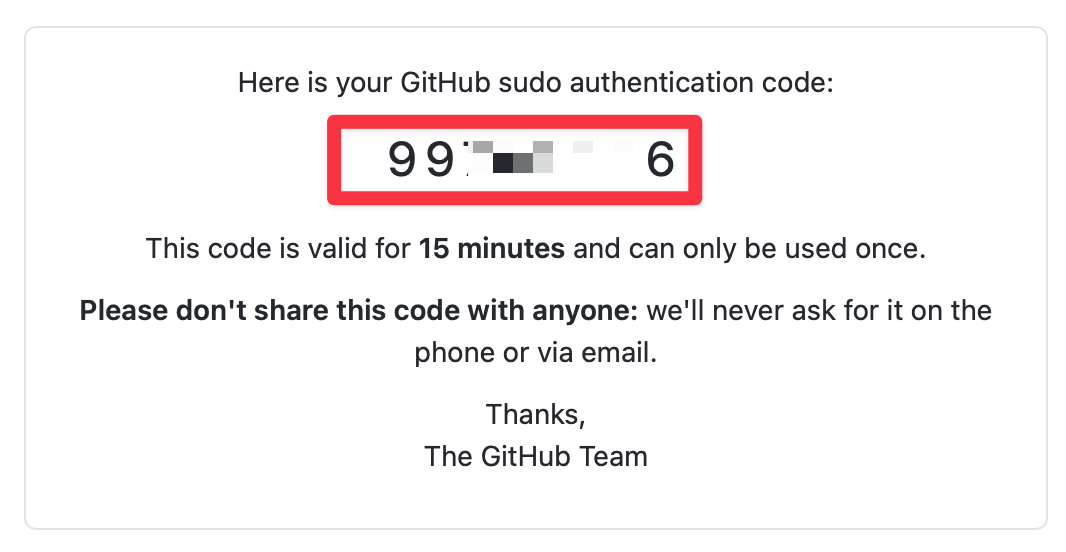
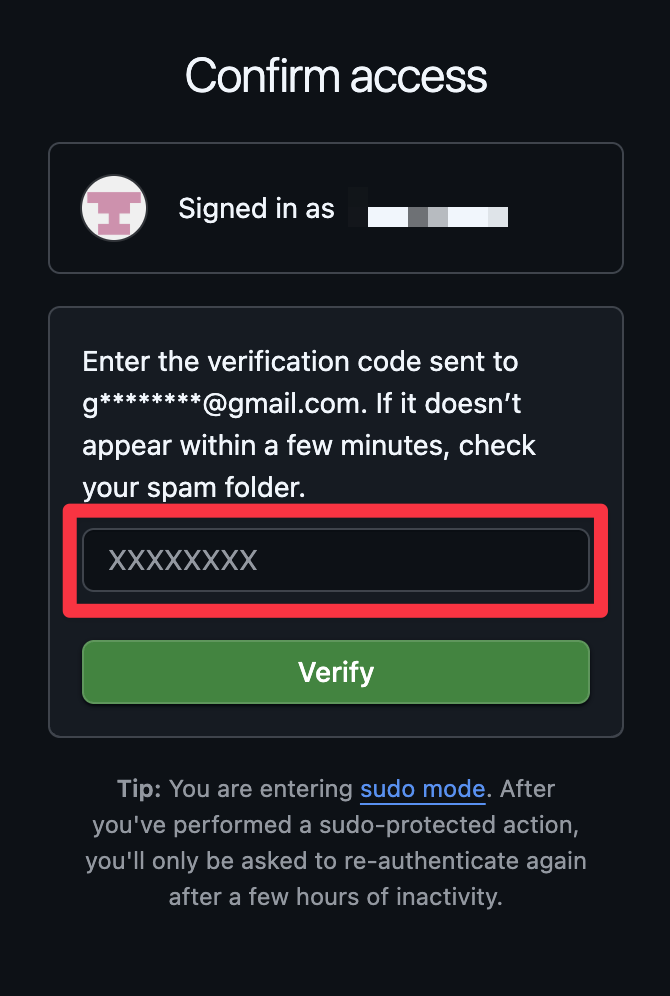
Enter the code you received via email here.
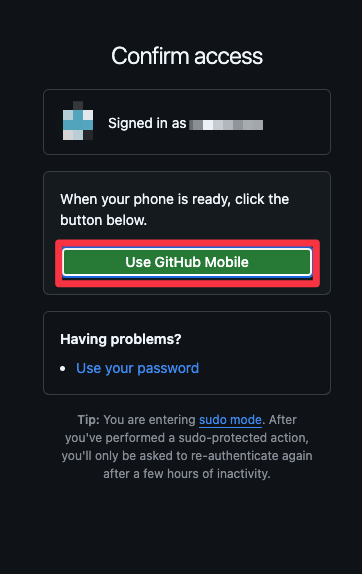
Option B: GitHub Mobile App
If you have the GitHub Mobile app installed, click "Use GitHub Mobile" and enter the displayed number in your app.
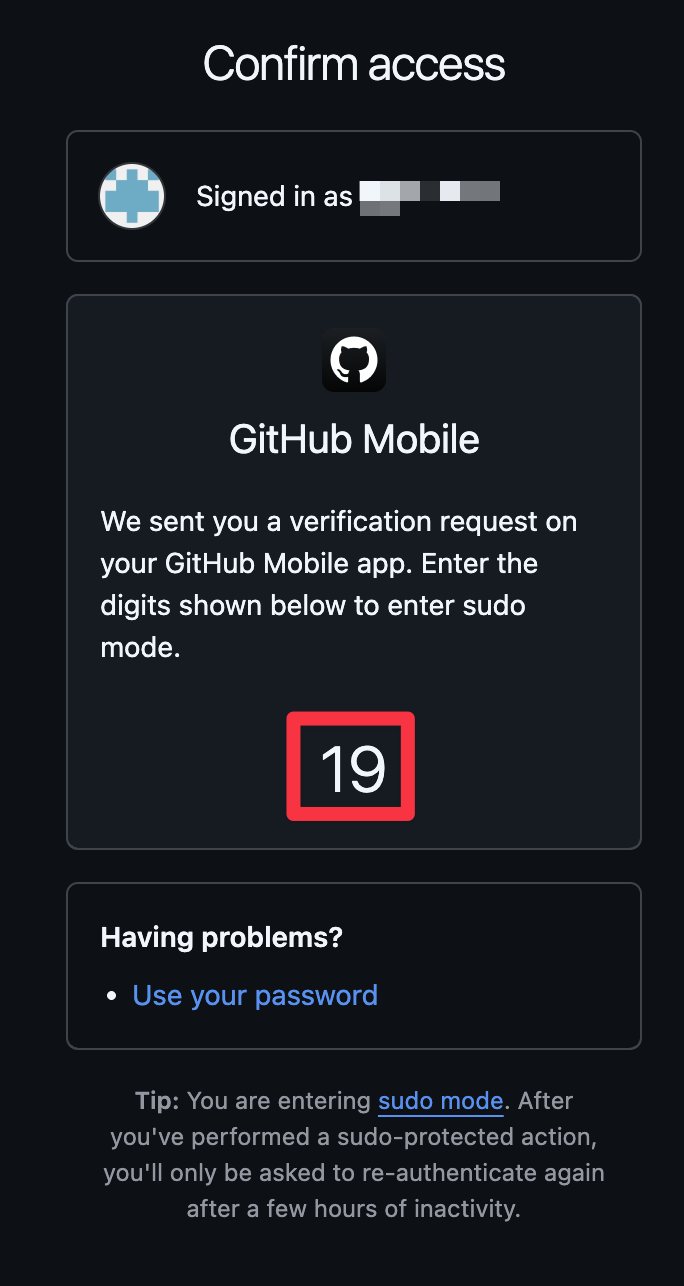
Please enter this number in the GitHub mobile app.
Once authenticated, you will be redirected to this screen.
Configure Your Token
Once authenticated, you'll see the token creation screen. Configure the following:
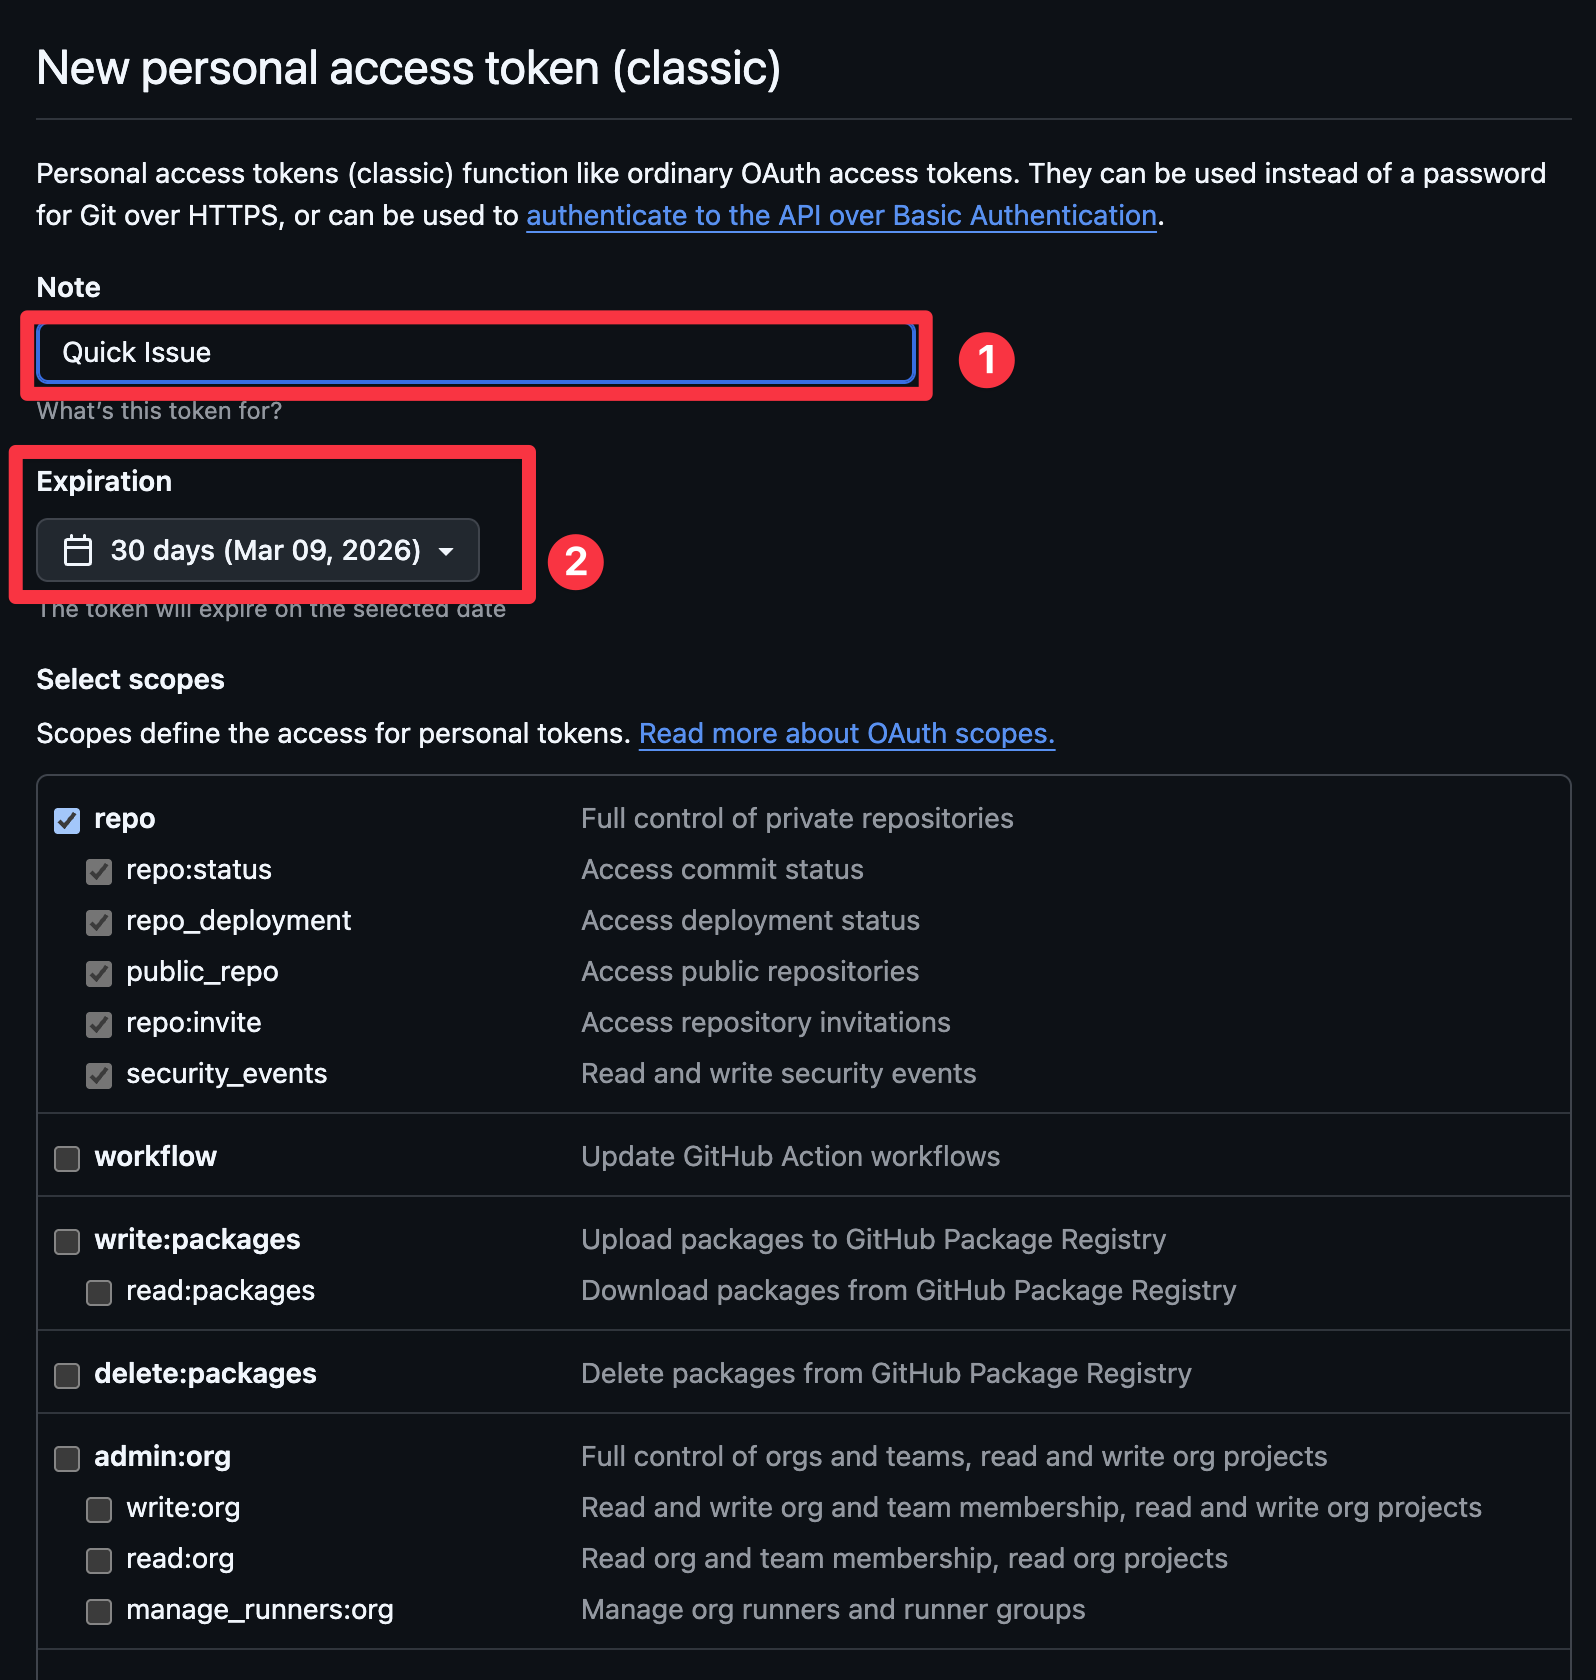
- Token name - Enter a descriptive name like "QuickIssue"
(Names that have been used before cannot be reused) - Expiration - Choose how long the token will be valid (recommended: 30–90 days)
📌 Recommended: Select the repo scope. This grants QuickIssue access to
both public and private repositories, and is the simplest option for most users.
💡 Alternative: If you only use public repositories, you may select
public_repo instead. This is a more restrictive option that limits access to public
repositories only.
🔒 Security: For detailed information about token permissions, expiration best practices, and fine-grained tokens, see our GitHub Token Security Guide.
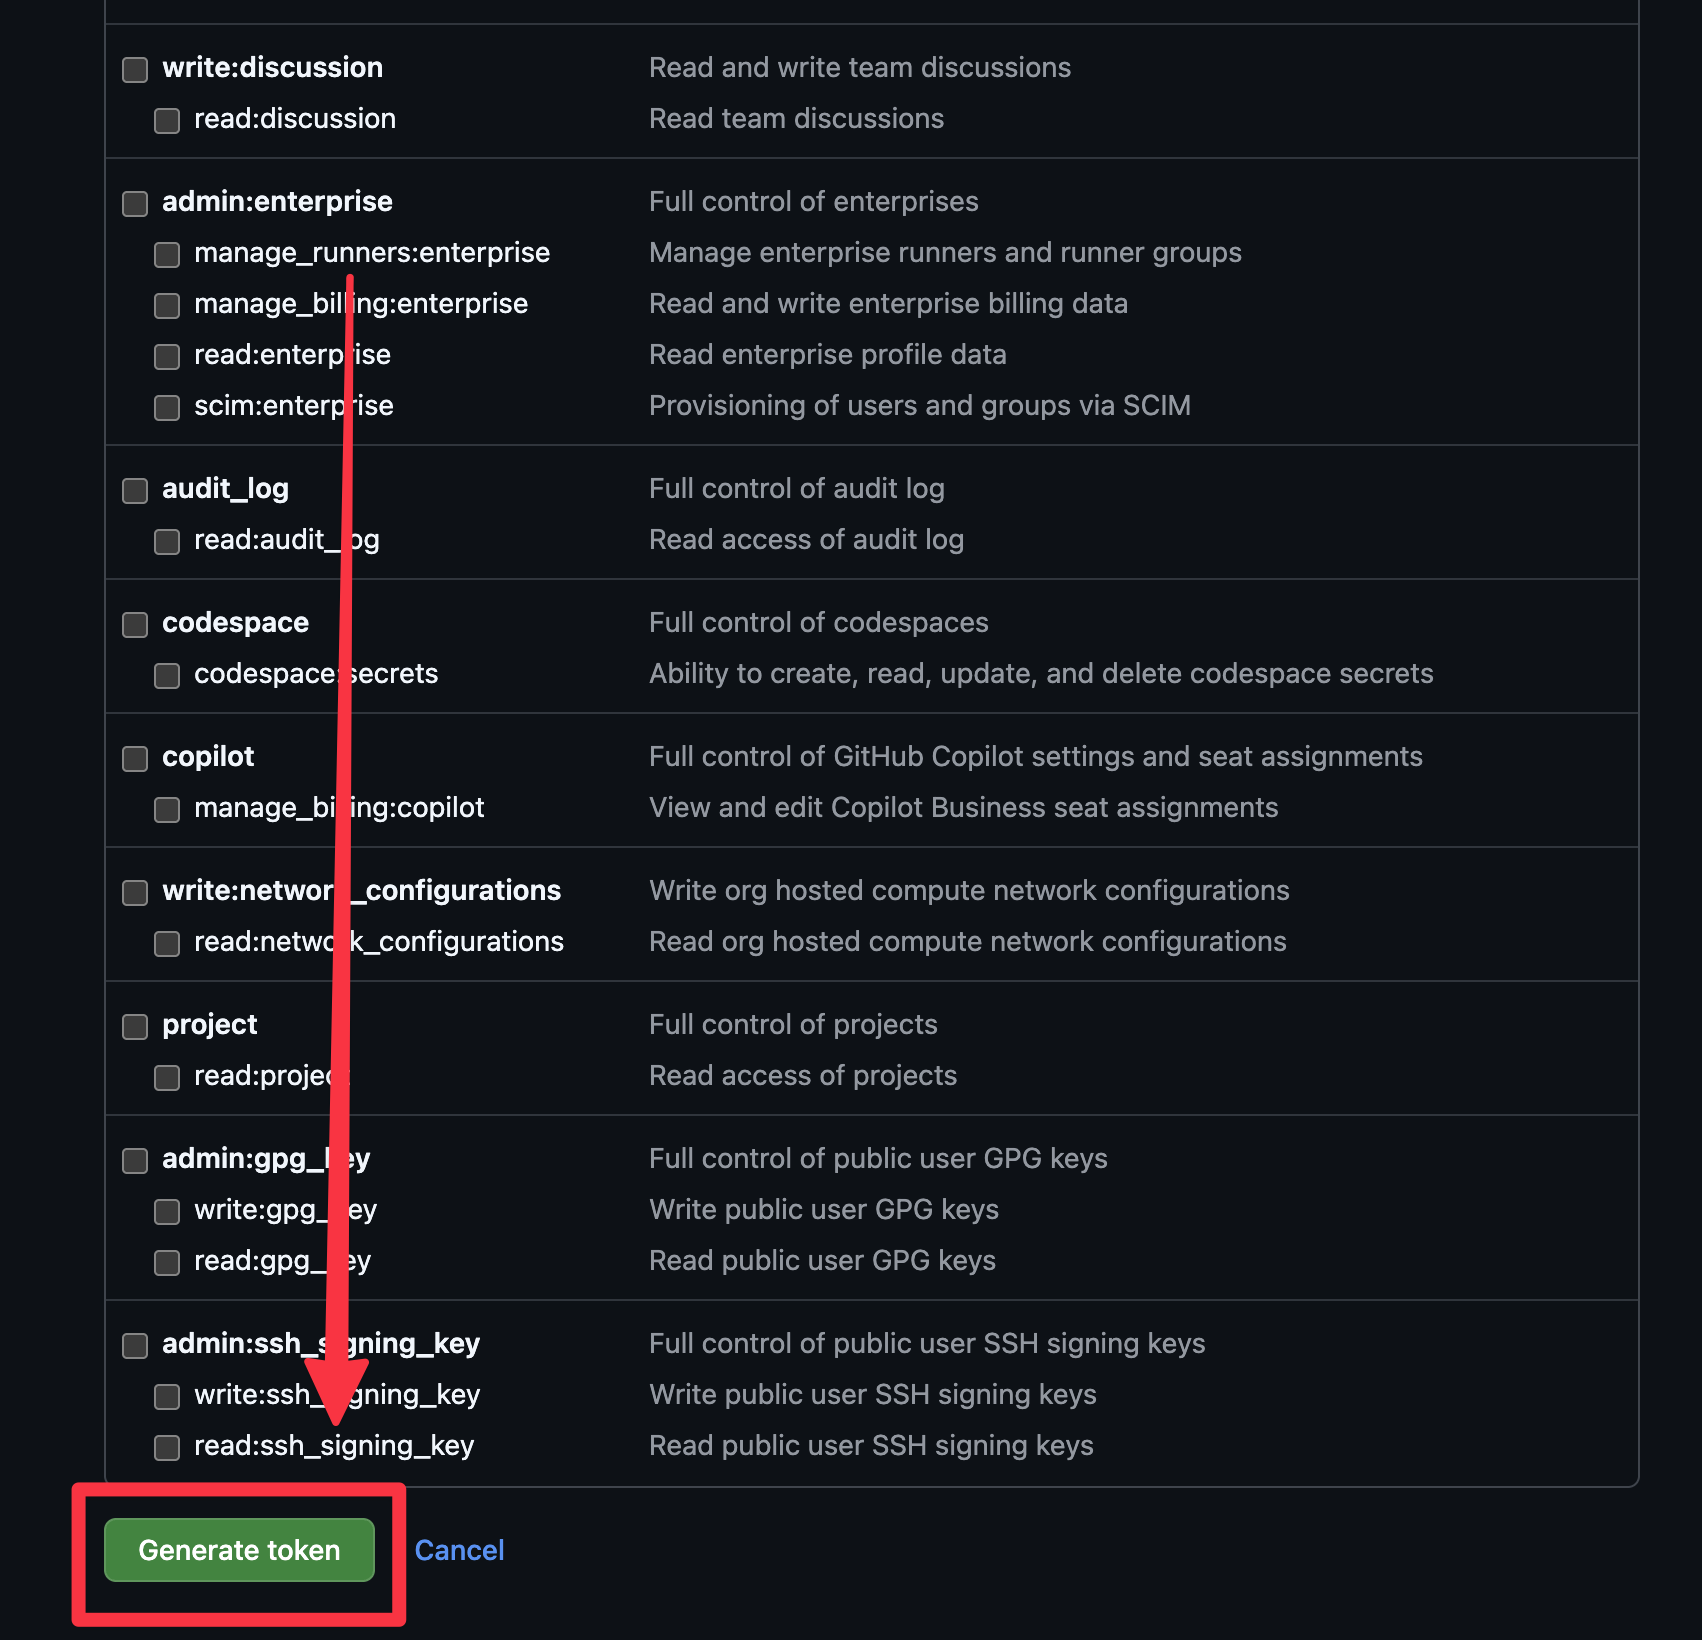
Scroll down and click the "Generate token" button.
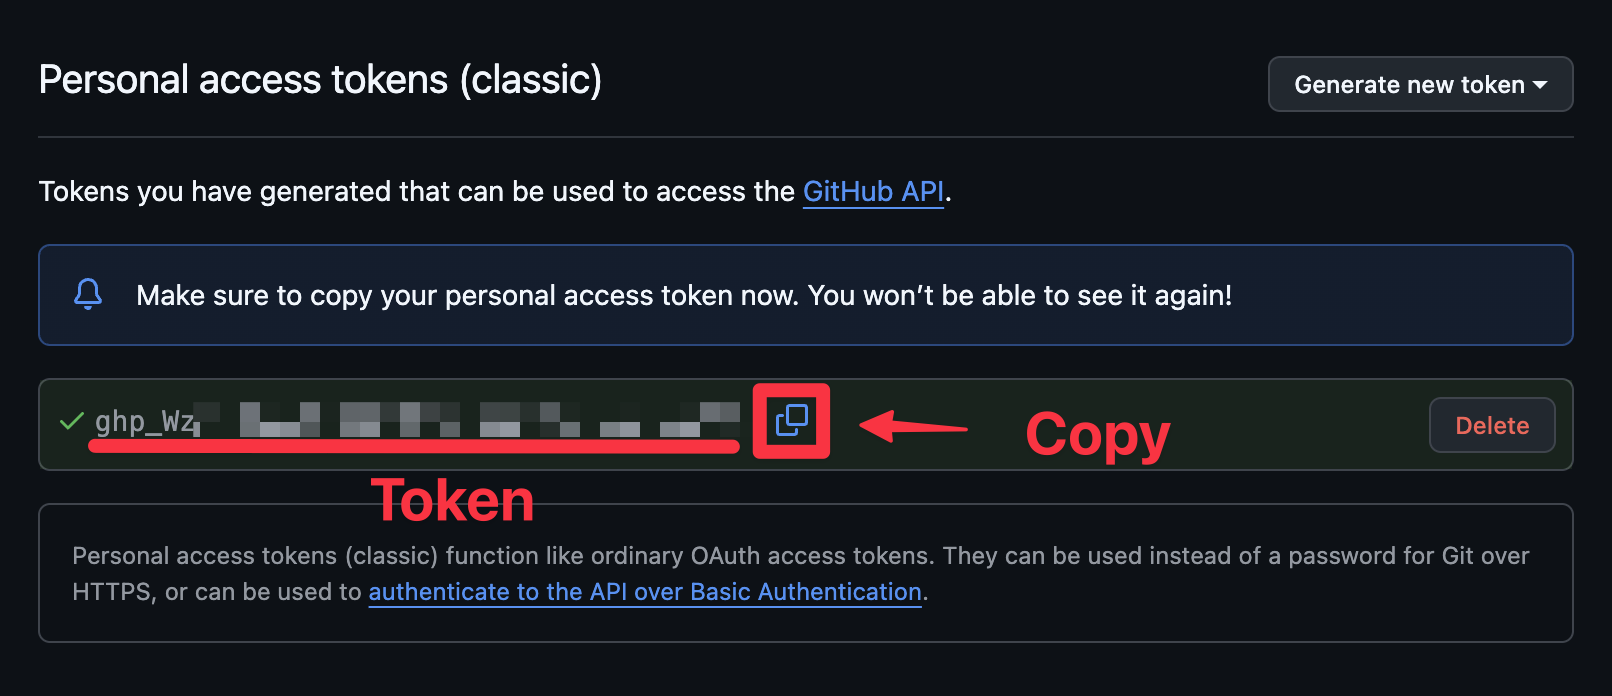
Copy Your Token
Your new token will be displayed. Click the copy button to copy it to your clipboard.
⚠️ Warning: The token is only displayed once! Make sure to copy it now. If you lose it, you'll need to create a new token.
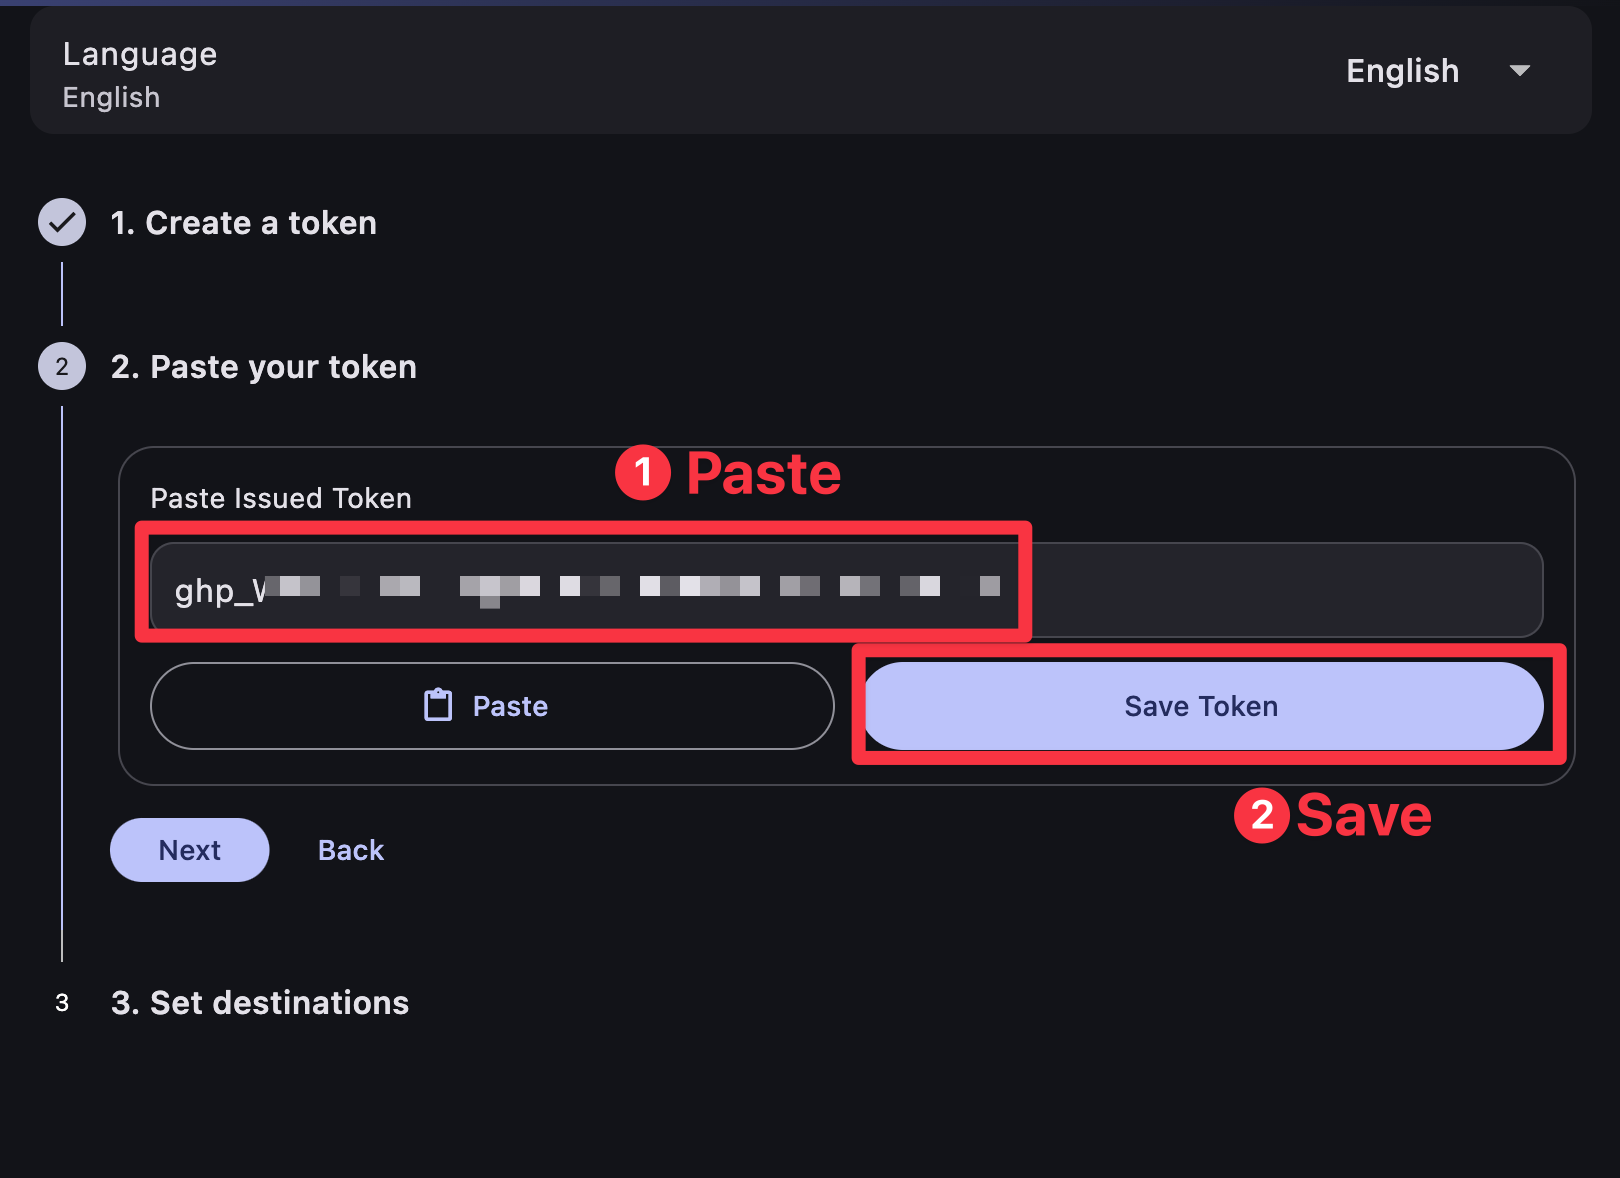
Step 2: Paste Token in QuickIssue
Return to QuickIssue. In the "Paste your token" section:
- Paste the token you copied from GitHub
- Click "Save Token" to save it
Step 3: Add Destination Repository
Now configure where your issues will be sent. Click "Add destination" to select a repository.
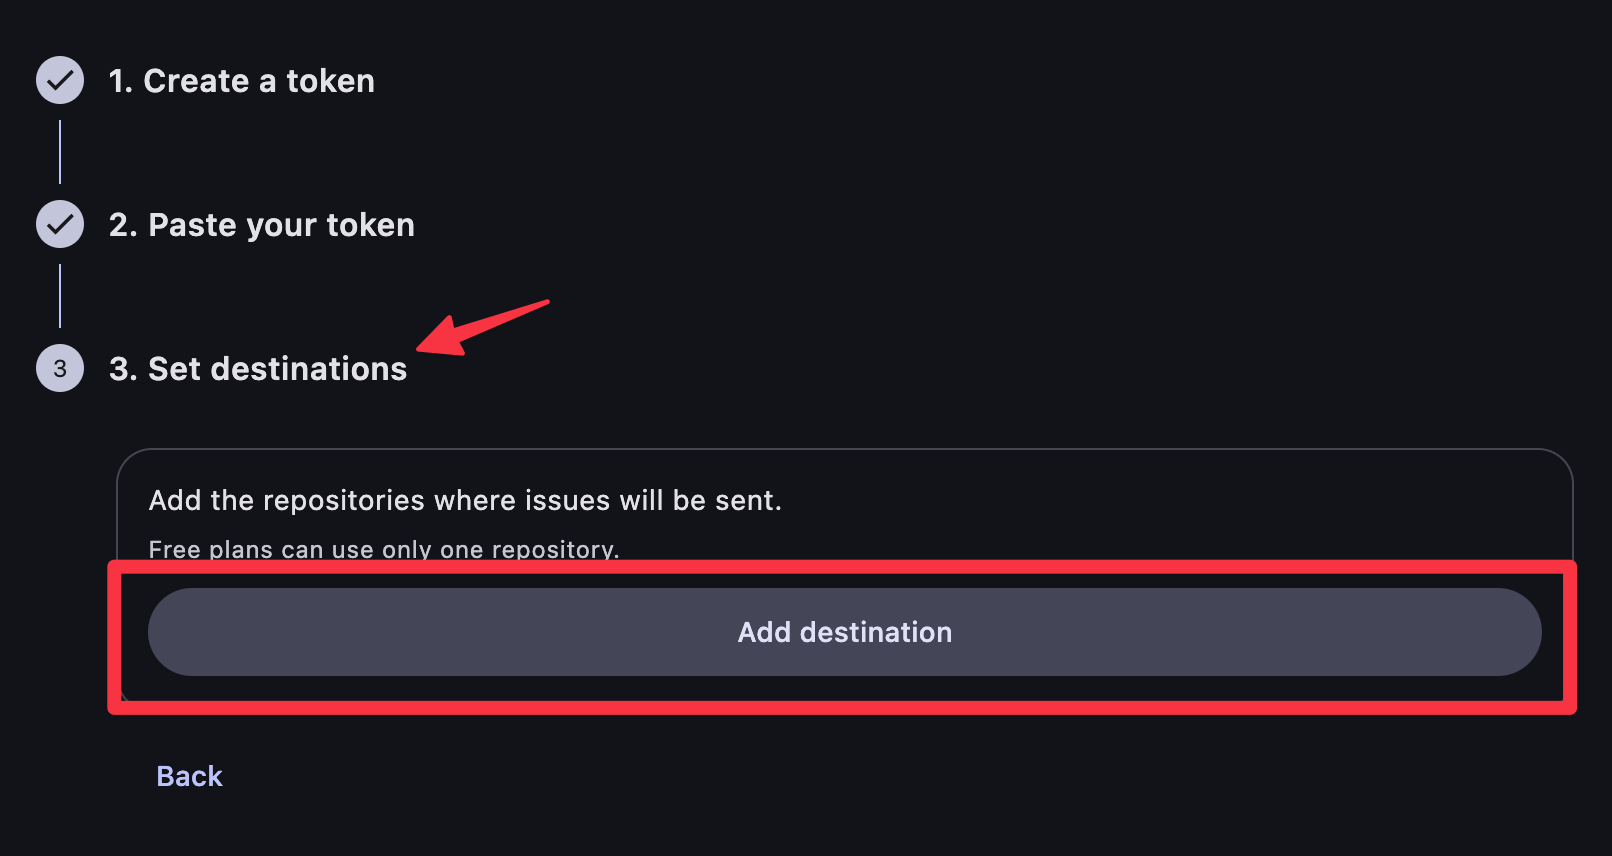
Press Add destination to select a destination.
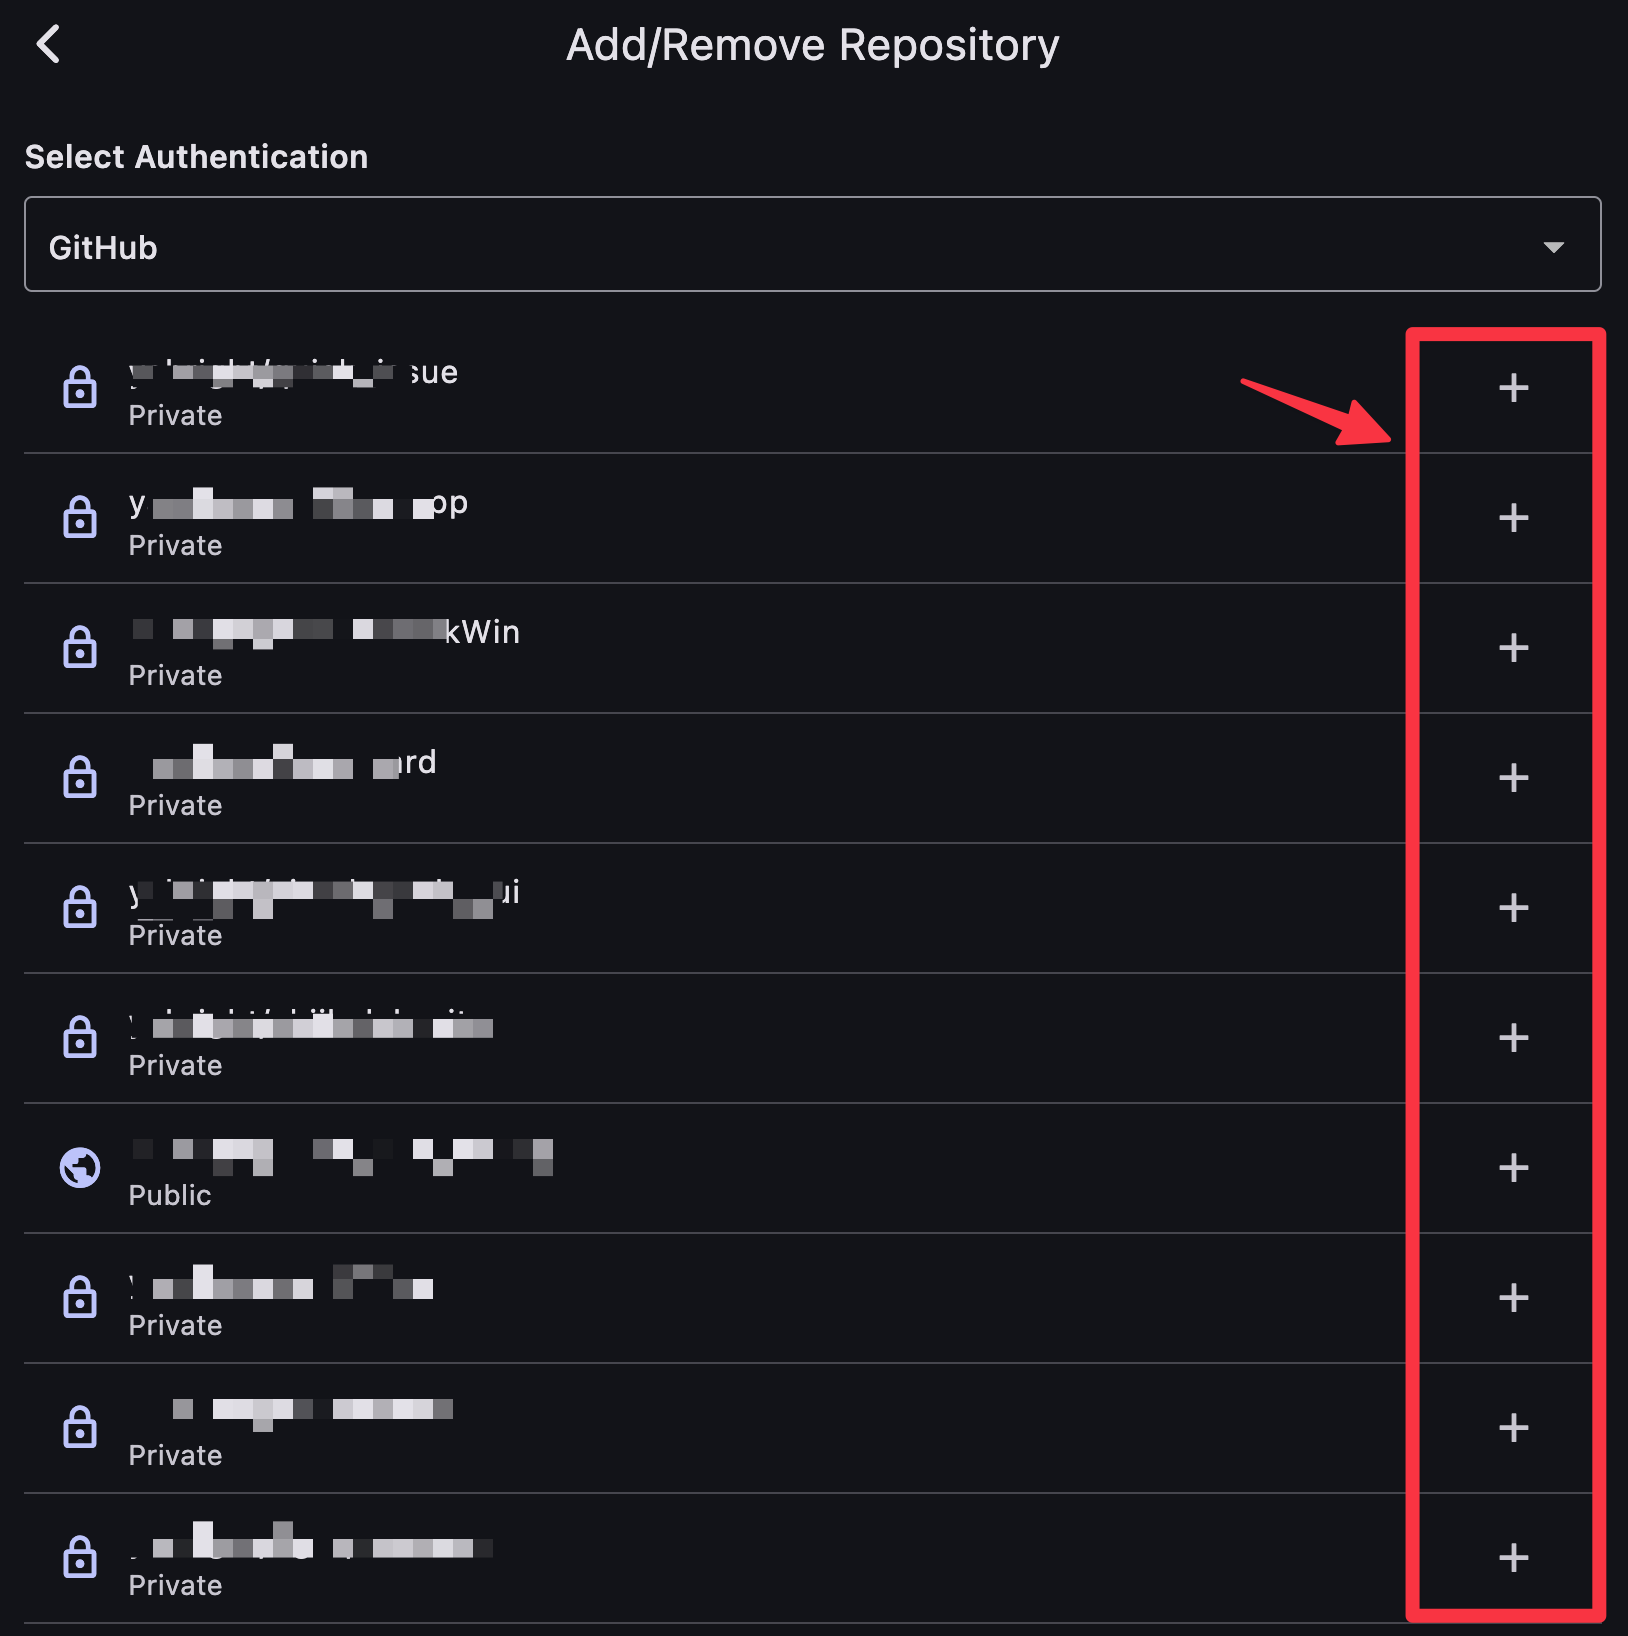
A list of available repositories will be displayed. Click the + button next to the repository you want to use as a destination.
💡 Note: In the free version, you can register only one repository. Upgrade to Pro for multiple destinations.
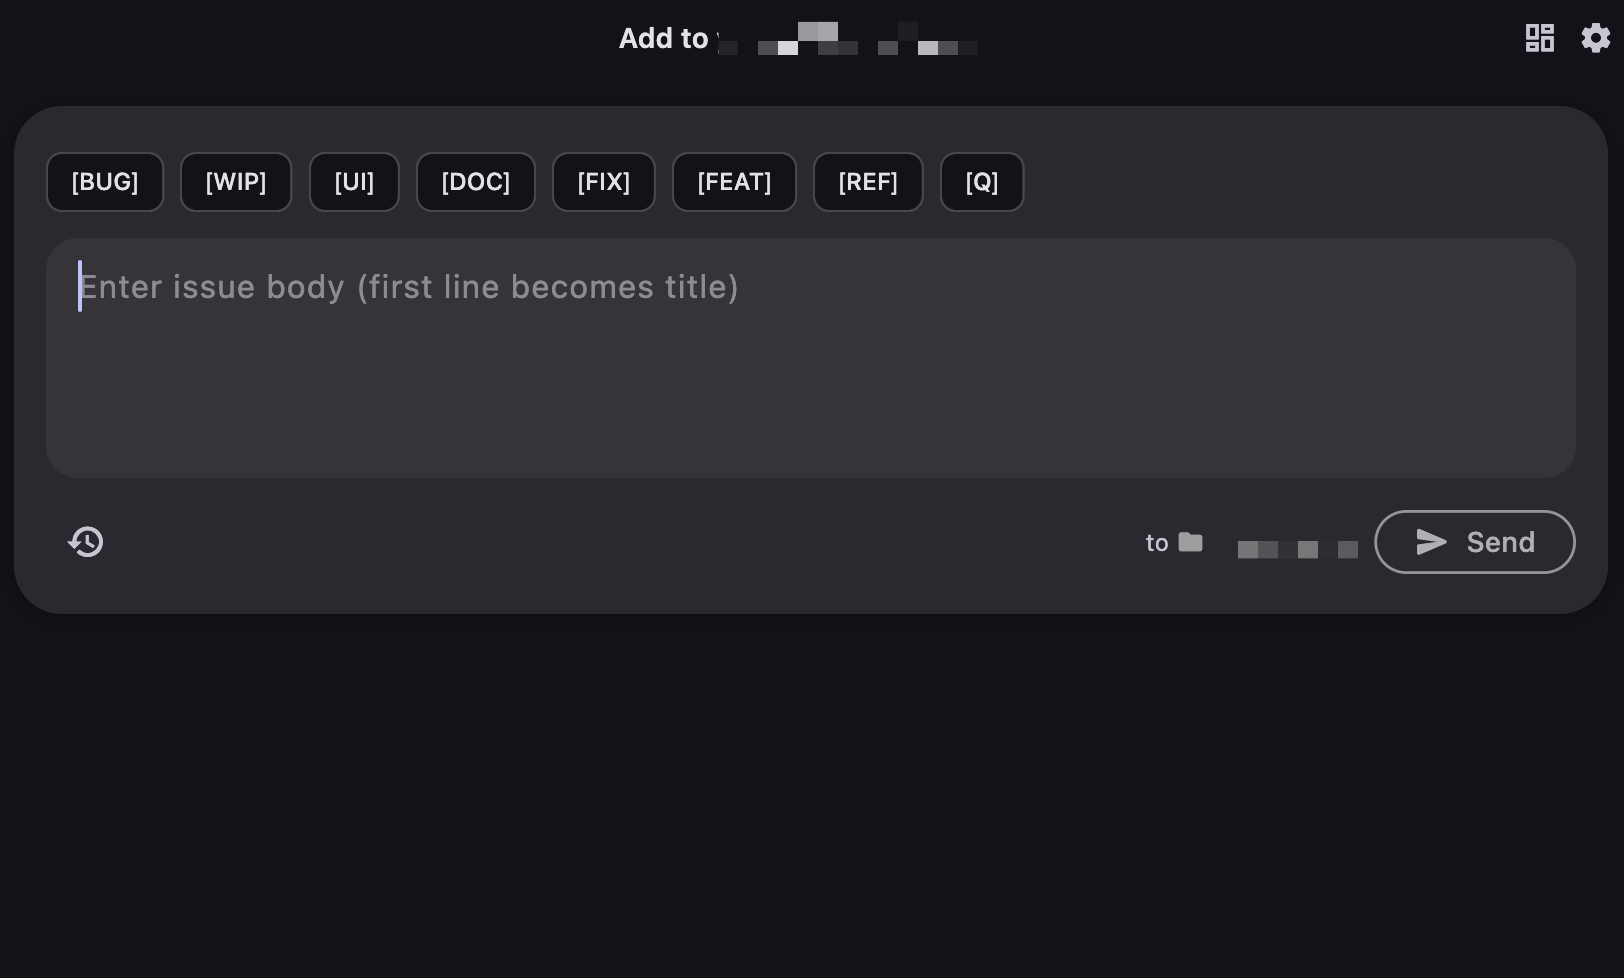
🎉 Setup Complete!
You're all set! QuickIssue is now configured and ready to use. Start creating issues by typing in the text field and clicking Send.
Need Help?
If you encounter any errors while using QuickIssue, check our Error Codes page for solutions.